
Create a pouch out of a regular envelope.
Supplies
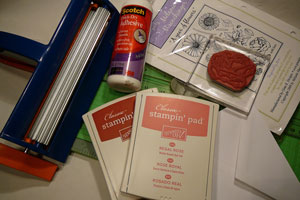
- A2 size Envelope
- Paper Trimmer
- Crimper
- Adhesive
- Stamps>>(Gina K. stamp set A Year of Flowers used here)
- Cardstock (for insert)
Step-by-Step
-
Step 1
Seal the envelope.
Use your paper trimmer to cut 1 1/4" from one of the short sides of the envelope.
The narrow piece will be the topper and the larger piece will be the crimped pocket portion of the card.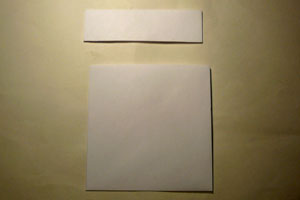
-
Step 2
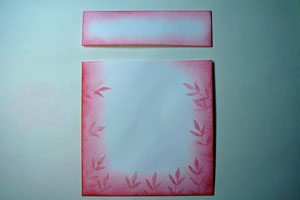
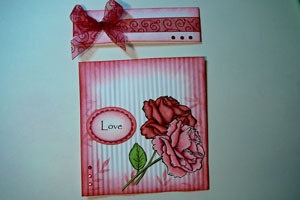
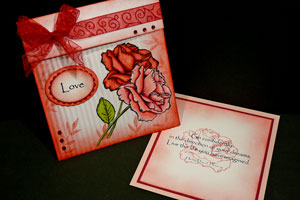
Decorate both pieces with stamps, keeping in mind that the bottom piece will be crimped and the images may be slightly distorted.
-
Step 3
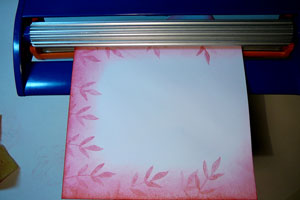
Place the larger piece into the crimping tool with the opening to the side, and crimp.
-
Step 4
Add stamped/cut images, die cuts and embellishments as desired.
-
Step 5
To create the insert, cut a piece of card stock to 4" by 4 1/4".
For a layered look, cut additional pieces slightly smaller.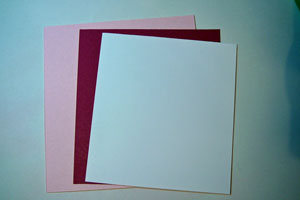
-
Step 6
Stamp and embellish insert as desired.

-
Step 7
As a variation you can scale the project down to create gift card holder.


No comments:
Post a Comment